Thursday 29 January 2015

D.I.Y Makeup Storage Drawers

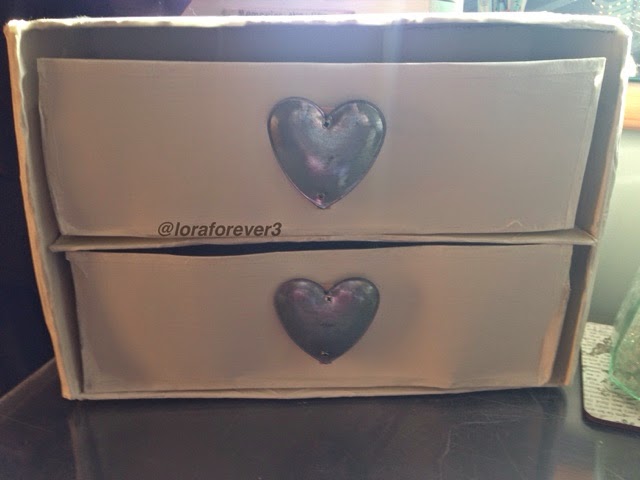
How cute are these mini drawers? Perfect for storing makeup or anything at all! 


What you will need...
1. Stiff cardboard box (whatever size you want your drawers to be)
2. Softer cardboard box. This must fit into the other box somehow. Mine fitted in length ways.
3. Scissors
4. Tape
5. Measuring tape or ruler
6. Pencil
7. Ribbon or anything to make handles
8. Super glue 
9. Paint in a colour of your choice
10. And of course a paintbrush ;)

Step 1
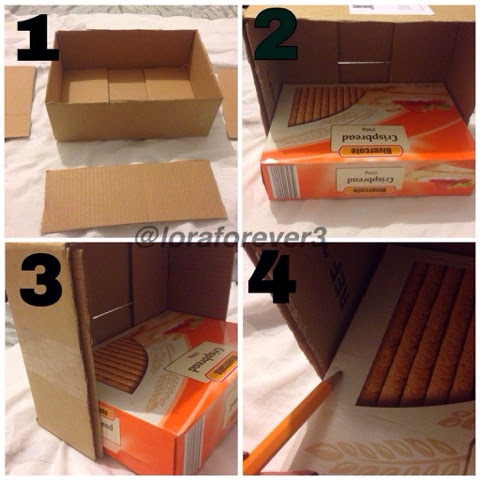
Cut the 4 flaps off of the stiff cardboard box. Figure out how you want to fit the other box into this box (the second box will become the drawers)


Step 2
I needed to cut my second box in half to make the drawers fit so, using a measuring tape I measured the halfway point in the middle of the second box and drew a line all the way down to help me when cutting.
I repeated this step with each side of the box until I had a continuous line all the way around the box.
Make sure you don't apply pressure to the box when making the line as this will alter the measurements. 
Each of the lines on the box should line up with each other, if not keep trying until they do. 


Step 3:
Make a hole in a part of the line with a scissors and cut the whole way along the line until you end up with 2 equal halves. 


Step 4
Taking one of the halves, pick one of the longer sides and cut it off completely. You may have to tape down any pieces that may come loose at this stage. 
Take the piece you just cut off and tape it back onto the top. Repeat this with the other half. 
These are now your drawers.


Step 5
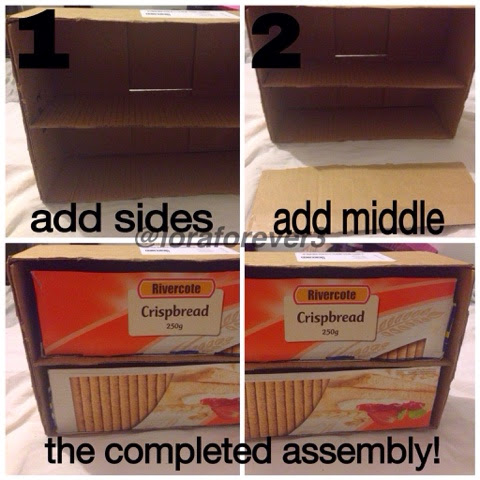
Take the 2 shorter flaps that you cut off the first box in step 1 and super glue them into the sides of the box. Note that this is not necessary if your drawers fit perfectly into the box, mine did not.
Then take one of the long sections and glue it into the middle of the box. 
This will help to keep your drawers more secure. 


Step 6
Remove each section of your drawers and paint them any colours you want! 
Wait for them to dry completely and add another coat if necessary.


Step 7:
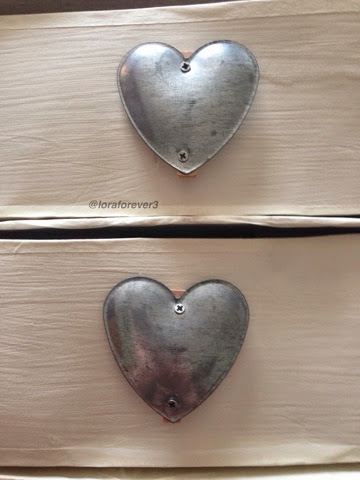
Once each piece of completely dry, it is now time to add the handles! There are many different types of handles you can make. You can superglue on any buttons or light weight things you can find, like I did :-)


Or...
You can make adorable bow handles!
First, measure and mark the centre of each of your drawers. 
Make a hole with your scissors 3cm (these measurements can be changed depending on the width of your ribbon) on either side of this mark. Cut these holes into 3cm vertical lines (going down).
Feed the ribbon into the left hole and back out the right hole. Tie both sides of the ribbon into a knot and then make them into a bow shape, just like tying your shoe laces! :-) 

They will look something like this...


Aaaand your done! Re-assemble your drawers and put in your favourite make up products or anything else you want to store! 


Hope you guys find this helpful! If anyone recreates this I'd love to see! You can tag me on Instagram @loraforever3 :-)
Love and hugs, Lora xo

Read More »

Saturday 24 January 2015

Urban Decay Electric Palette Swatches & Review

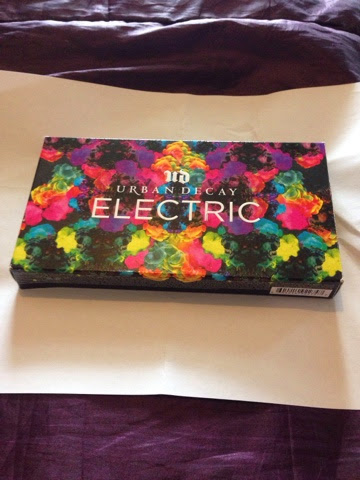
recently purchased the Urban Decay Electric Palette at the Urban Decay stand in Debenhams (it retails for €45).


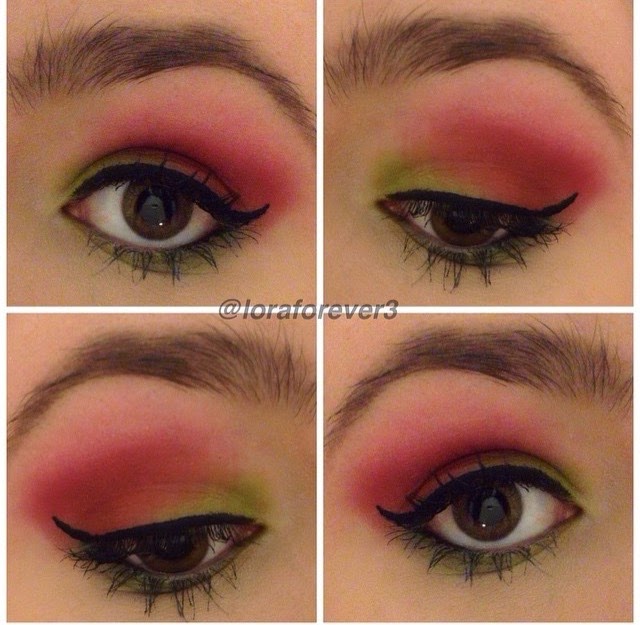
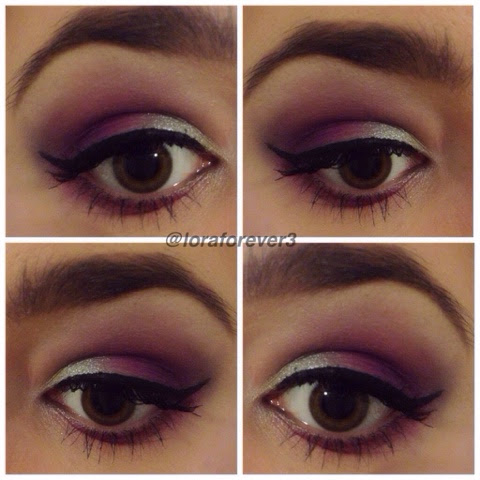
The colour payoff for each of these eyeshadow is just amazing, each colour is so so pigmented! I was unsure at first whether I would get much use out of it but here are a few looks I have done so far with it...


If you would like a tutorial on any of these looks please leave a comment down below 👇😊 I would also recommend using an eyeshadow base before you apply these shadows because the staying power is real and some of these just don't want to budge ;) 

As these eyeshadows are actually pressed pigments, the pigmentation is insane and a little goes a long way!
Each of these colours have slight tiny specks of glitter in them, some showing up more glittery than others like Revolt, Gonzo and Slowburn compared to the almost satin colours Savage, Urban and Jilted. Here are some arm swatches of all the colours...

The blue colour Chaos is also in the Vice palette :) these colours are easy to blend as well, which makes them even better 😜

The palette also contains a double ended purple haired brush. I use the bigger side to pack on the colour and the smaller side to pack colour under my water line 


As you can see my brush is a little dirty from using it today 😜 

Overall I absolutely adore this palette and would reccommend to anyone who is looking to add some colour into their make up collection 😃 

Love and hugs, Lora xo


Read More »

Saturday 17 January 2015

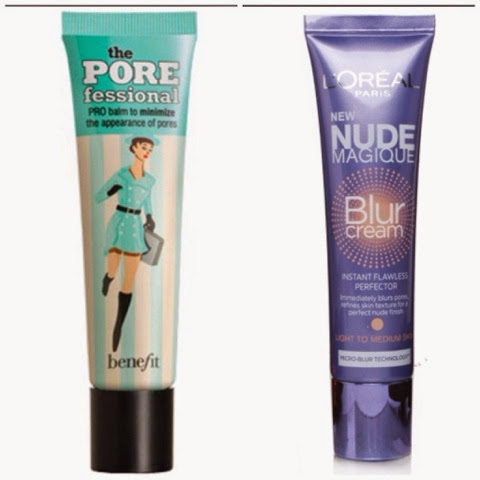
Benefit's Porefessional Vs Loreal Blur Cream

So I have heard of a few dupes for the porefessional by Benefit and decided to try this one; the Nude Magique Blur Cream by Loreal Paris. 
Both of these primers suggest that they do the same thing, minimise the look of pores! 

I have been using the Porefessional for a few months now and I love it, it does exactly what it says it does. But at €34 for a 22ml tube it can be very expensive to be using it a couple times a week like I do. So when I heard that the Loreal blur cream is a dupe I just had to test it out ;-) The Loreal blur cream is €12.99 for a 25ml tube which is significantly cheaper, but how does it compare? 

First off I compared the textures of the product... 

The Porefessional is a slightly thicker consistency than the blur cream, also the blur cream can be difficult to get out of the tube. The blur cream comes in 2 shades which are light to medium and medium to dark, however I did not notice any colour payoff from the product. The Porefessional is only available in the one colour as far as I know but again, there is no real colour payoff. 

Also, the Porefessional has a faint make up smell (which is nice!) whereas there is no noticeable smell off of the blur cream. 

As for application, I did need twice as much of the blur cream to do the same job as the Porefessional. Both products felt the same once applied to the face, and both did a good job at covering my pores! I also tested the longevity of the products and after 4 hours they are both still intact and still concealing them pores!! :-D

The above picture is the Loreal Blur Cream after 4 hours of wear, the picture below is the Porefessional... Pretty similar if you ask me!

My overall opinion is that the Porefessional is slightly better at covering larger pores than the blur cream, but on smaller pores there is no difference between the 2 products! 

Hope you guys enjoyed my little head to head review! 
Love and hugs, Lora xo
Read More »